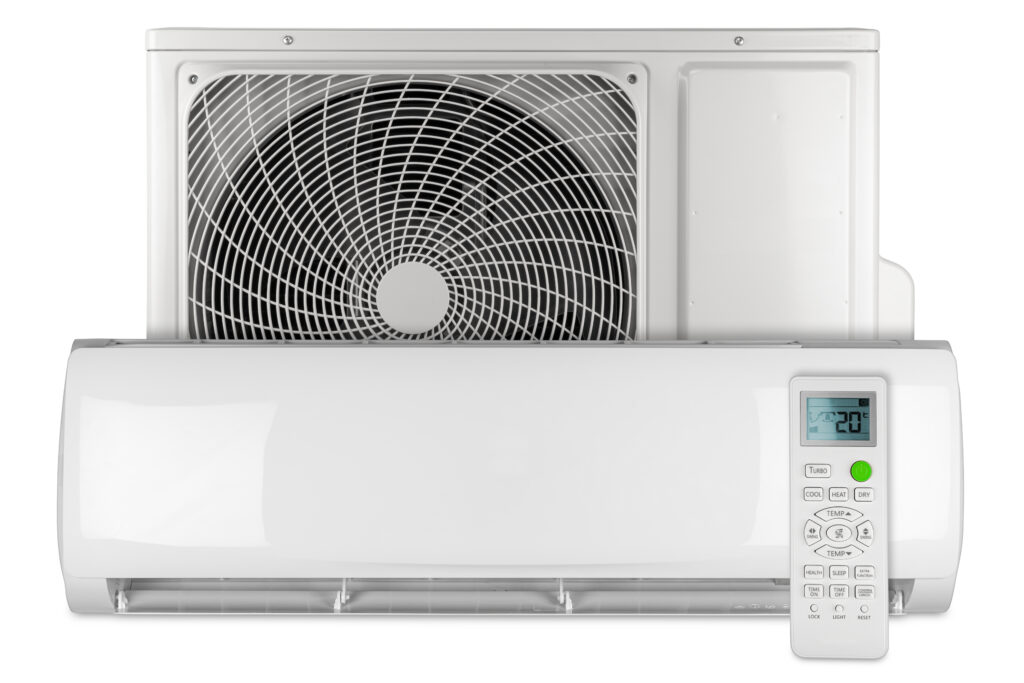

Mini split air conditioning systems, also known as ductless mini splits, are the embodiment of modern comfort and energy efficiency. These compact, versatile systems have revolutionized the way we cool our homes, offering tailored solutions for individual rooms, home additions, or entire households. In this detailed article, we’ll take you on a journey through the intricate process of mini split installation, highlighting each step’s importance in achieving optimal comfort and efficiency.
Assessing the Space: The Blueprint of Comfort
The first step in any successful mini split installation is a thorough assessment of the space to be cooled. Whether you’re aiming to transform a stuffy attic, create a cozy home office, or equip your entire home with zoned cooling, understanding the area’s unique characteristics is paramount.
Location, Location, Location: Choose the perfect spot for both the indoor and outdoor units. The indoor unit should be strategically positioned for balanced airflow, ideally around 7-8 feet above the floor and away from obstructions. Meanwhile, the outdoor unit, often referred to as the condenser, requires a stable platform in a well-ventilated area with ample clearance for optimal heat exchange.
Gathering the Tools and Materials: The Arsenal of Precision
Armed with the knowledge of your space’s cooling requirements, it’s time to gather the tools and materials essential for the installation. Here’s a comprehensive list to ensure you’re fully equipped:
Mini Split System: Your chosen mini split system, complete with indoor and outdoor units.
Refrigeration Lineset: A copper tubing set, carefully measured to connect the indoor and outdoor units.
Mounting Brackets: Brackets for securely mounting the outdoor unit.
Drill and Hole Saw: Precise tools for creating a hole through which the lineset and wiring will pass.
Copper Tubing Cutter: An essential tool for clean, accurate cuts.
Vacuum Pump and Manifold Gauge Set: Vital for evacuating air and moisture from the lineset.
Flaring Tool and Torque Wrench: Tools for creating precise flare connections and tightening them to the manufacturer’s specifications.
Electrical Wiring and Conduit: Properly sized wiring and conduit for electrical connections.
Insulation Tape and Zip Ties: Materials for insulating the lineset and securing components.
Wall Sleeve: A sleeve for protecting the lineset as it passes through the wall.
Condensate Drain Line and Pump: If necessary, components for managing condensate.
The Indoor Unit Installation: A Symphony of Precision
Now, let’s delve into the intricate process of installing the indoor unit:
Mount the Bracket: Secure the wall-mounted bracket with meticulous care, ensuring it’s level and steadfast. This bracket is the foundation upon which your indoor unit will rest.
Drill with Precision: Employ a drill and hole saw to create a hole through the wall. This hole serves as the conduit for the lineset and electrical wiring, and precision is key.
Seamless Connections: Gently guide the lineset and wiring through the hole and connect them meticulously to the indoor unit. Following the manufacturer’s instructions for proper flare connections is essential.
Hang and Secure: Hang the indoor unit on the wall bracket, ensuring it is level and securely fastened. A precisely positioned indoor unit is crucial for even cooling.
The Outdoor Unit Installation: The Heartbeat of Comfort
With the indoor unit in place, it’s time to install the outdoor unit:
Position the Condenser: Place the outdoor unit on its designated platform, whether it’s a concrete pad or mounting bracket. Verify that it is level and secure, as the condenser is the system’s workhorse.
Connect the Lineset: Carefully attach the lineset’s other end to the outdoor unit, adhering to the manufacturer’s instructions for precise flare connections.
Electrical Connections: Make meticulous electrical connections from the indoor unit to the outdoor unit, ensuring that the wiring is properly sized and protected by conduit.
Tidy Lineset and Wiring: Use zip ties to secure the lineset and electrical wiring together, minimizing exposure to the elements and creating a clean, professional appearance.
Evacuate and Charge: Use a vacuum pump and manifold gauge set to expertly evacuate air and moisture from the lineset. After evacuation, charge the system with the manufacturer-recommended refrigerant, adhering closely to guidelines.
The Finishing Touches: Precision and Craftsmanship
As your mini split installation nears completion, attention to detail becomes paramount:
Insulation Wrap: Wrap the lineset with insulation tape or foam to prevent condensation and enhance energy efficiency.
Condensate Management: If your indoor unit produces condensate, ensure it’s expertly drained away from your home, either via a condensate drain line or a condensate pump, based on the unit’s design.
System Test: Turn on the mini split system and meticulously test it to ensure it’s cooling effectively and efficiently. Pay close attention to any unusual noises or vibrations, as they could indicate installation issues.
Sealing and Aesthetics: Seal the hole around the lineset and wiring with caulk or foam to prevent drafts and pest intrusion. Leave your installation with a professional, polished appearance.
Conclusion: Precision and Craftsmanship for Ultimate Comfort
The art of mini split installation blends precision and craftsmanship to deliver ultimate comfort and energy efficiency. When executed meticulously, this process transforms any space into a haven of cool, refreshing relief, while also minimizing your carbon footprint and energy bills. However, if any part of the installation feels beyond your expertise, don’t hesitate to seek the assistance of a licensed HVAC professional to ensure both safety and optimal performance. In the end, the artistry of mini split installation is a symphony of precision that rewards homeowners with tailored, efficient cooling. Call Swift Air for more information.

