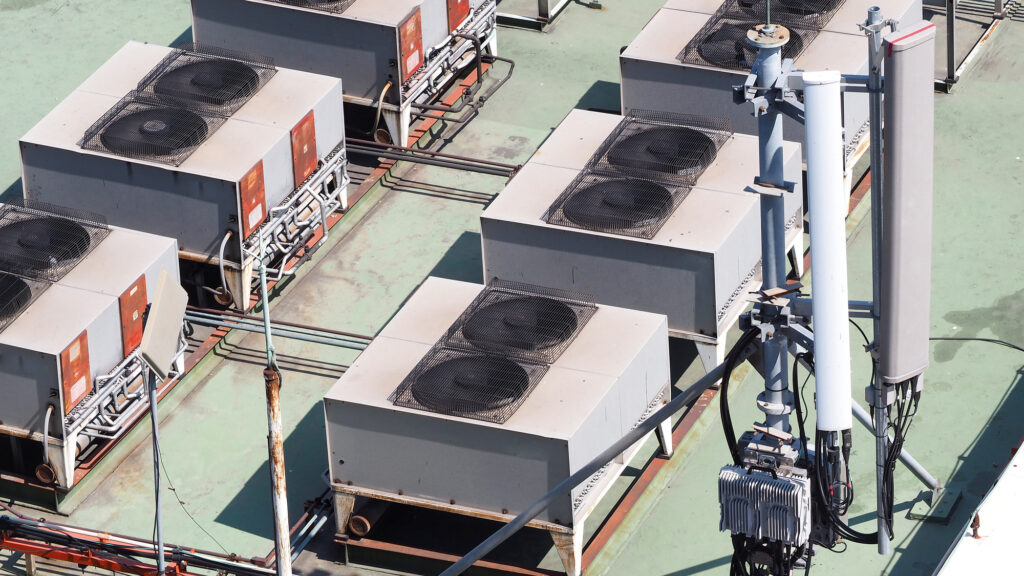

Rooftop air conditioning systems are commonly used in commercial buildings, industrial facilities, and some residential properties. These units offer efficient cooling while utilizing rooftop space effectively. In this comprehensive guide, we will walk you through the step-by-step process of installing a rooftop air conditioning system.
Step 1: Planning and Preparation
Before diving into the installation, careful planning and preparation are essential:
Assessment: Begin by assessing the cooling needs of the building. Consider factors like square footage, insulation, and local climate to determine the appropriate system size and capacity.
Permits: Check local building codes and obtain the necessary permits for rooftop HVAC installations. Compliance with regulations is crucial to ensure safety and proper installation.
Unit Selection: Choose the right rooftop air conditioning unit based on your building’s requirements. Factors to consider include cooling capacity, energy efficiency, and features like variable-speed fans or integrated controls.
Step 2: Safety Precautions
Safety should always be a top priority during rooftop HVAC installation. Ensure your team has proper safety gear, including harnesses, hard hats, and non-slip footwear. Create a safety plan that includes measures for fall protection and safe equipment handling.
Step 3: Rooftop Preparation
Prepare the rooftop for the installation by cleaning the area and ensuring it can support the weight of the HVAC unit. Check for any obstructions, such as vents or antennas, that may interfere with unit placement.
Step 4: Unit Placement
Carefully lift the rooftop air conditioning unit onto the prepared area. Use appropriate lifting equipment, such as a crane, to ensure safe and precise placement. Position the unit securely, ensuring it is level and stable.
Step 5: Electrical and Plumbing Connections
Connect the unit to the building’s electrical system and plumbing as required. Ensure proper grounding and follow all electrical and plumbing codes. It’s advisable to hire a licensed electrician and plumber for these connections.
Step 6: Ductwork Installation
Install ductwork to distribute cool air throughout the building. The design and layout of the ducts should be well-planned to ensure even cooling. Seal joints and connections properly to prevent air leakage.
Step 7: Refrigerant Lines
Connect the refrigerant lines from the rooftop unit to the building’s HVAC system. Properly insulate the lines to maintain efficiency and prevent condensation.
Step 8: Control Wiring
Wire the rooftop unit to the building’s control system or thermostat. Ensure all connections are secure and labeled for easy troubleshooting and maintenance.
Step 9: Start-Up and Testing
Once all connections are made, it’s time to start up the rooftop air conditioning system. Test the unit thoroughly to ensure it operates correctly, cooling the building effectively. Check for any unusual noises, vibrations, or issues with airflow.
Step 10: Regular Maintenance
Regular maintenance is crucial to keep the rooftop air conditioning system running efficiently. Create a maintenance schedule that includes tasks like cleaning or replacing filters, inspecting electrical connections, and checking for refrigerant leaks. Consider hiring a professional HVAC technician for annual maintenance.
Step 11: Safety Rails and Access
Install safety rails and access points on the rooftop to ensure safe and convenient access for maintenance and service personnel. These additions enhance safety and ease of rooftop unit maintenance.
Conclusion: Efficient Cooling from the Top
Installing a rooftop air conditioning system requires careful planning, skilled labor, and adherence to safety standards. With the right equipment and a systematic approach, you can ensure a successful installation that provides efficient cooling for your building. Remember to schedule regular maintenance to keep the system in optimal working condition and enjoy cool, comfortable indoor environments for years to come. If you need a professional company to install your rooftop unit, feel free to call Swift Air at 361-882-2111!

