
When summer’s scorching heat bears down, a central air conditioning system becomes the oasis of cool comfort in your home. If you’re considering installing one, you’re on the path to year-round indoor comfort. In this comprehensive guide, we’ll take you through the process of installing a central air conditioning system, from the initial planning stages to the final cool breeze that fills your home.
1. Assess Your Cooling Needs:
Before embarking on the installation journey, it’s crucial to assess your cooling needs. Factors to consider include the size of your home, insulation quality, local climate, and the number of windows and doors. A professional load calculation will help you determine the appropriate cooling capacity for your space.
2. System Selection:
Choose a central air conditioning system that matches your home’s cooling requirements. This includes selecting the right-sized unit with an appropriate SEER (Seasonal Energy Efficiency Ratio) rating for energy efficiency and effectiveness.
3. Obtain Necessary Permits:
To ensure compliance with local building codes and regulations, you may need to obtain permits for your central air conditioning installation. Consulting with your local building authority or hiring a professional HVAC contractor can help you navigate this step.
4. Ductwork Assessment and Installation:
If your home already has ductwork, it’s essential to assess its condition. Leaks, inadequate insulation, or improper sizing may necessitate repairs or replacements. In cases where there’s no existing ductwork, a new system will need to be designed and installed.
5. Outdoor Unit Placement:
The outdoor unit, also known as the condenser unit, is typically placed outside your home. It requires a level and stable surface, often a concrete pad or mounting brackets. Ensure there is adequate clearance around the unit to allow for proper ventilation and maintenance access.
6. Indoor Unit Installation:
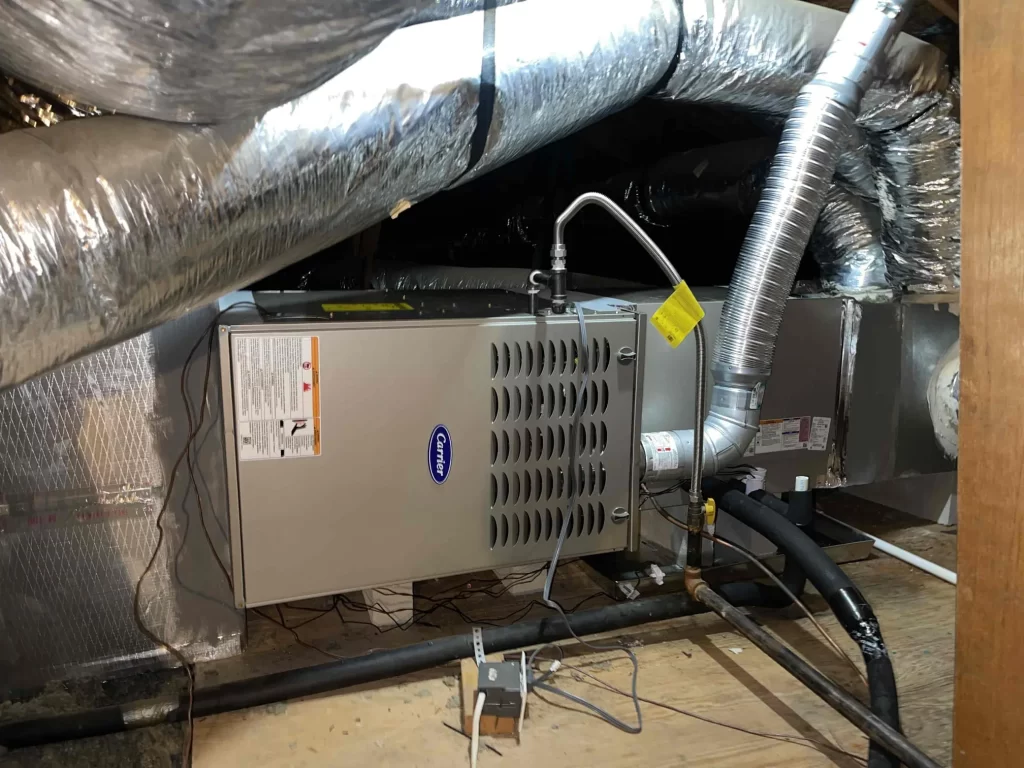
The indoor unit, which contains the evaporator coil and blower, is installed inside your home. It’s usually placed in a basement, attic, or utility room. Refrigerant lines, electrical wiring, and a condensate drain line are connected to the indoor unit.
7. Refrigerant Line Connection:
Refrigerant lines run between the indoor and outdoor units, allowing the transfer of refrigerant to cool the air. Proper sizing and insulation of these lines are crucial for efficiency.
8. Electrical Wiring:
A dedicated electrical circuit is established to power the central air conditioning system. Wiring connections are made between the indoor and outdoor units, and a thermostat is installed to control the system.
9. Thermostat Installation:
A thermostat, placed in a central location within your home, controls the temperature and settings of the central air conditioning system. Modern thermostats offer advanced features like programmable schedules and remote access for convenience and energy savings. Swift Air can help you install your thermostat for a low price
10. Refrigerant Charging:
Refrigerant is carefully charged into the system according to manufacturer specifications. This process must be precise to ensure the system’s optimal cooling efficiency.
11. Testing and Balancing:
The entire system is thoroughly tested to ensure proper airflow, refrigerant levels, thermostat functionality, and overall system performance. Ducts are balanced to achieve even cooling throughout your home.
12. Insulation and Sealing:
Ducts and other components are insulated and sealed to prevent air leakage, which can reduce efficiency and comfort.
13. Final Inspection:
A final inspection may be required by local authorities or the installation contractor to ensure the system complies with all safety and building code regulations.
14. User Orientation:
After the installation is complete, homeowners are typically provided with an orientation to learn how to operate and maintain the central air conditioning system efficiently.
Installing a central air conditioning system is a significant investment that brings year-round comfort to your home. Given the complexity of the installation process, it’s essential to hire a licensed and experienced HVAC contractor to ensure that the system is properly designed, installed, and maintained for optimal performance and efficiency. With the right system and professional installation, you’ll enjoy cool comfort in your home for years to come. Call Swift Air for any of your HVAC needs.

